
How to customize Christmas Lights and add plugs
Table of Contents
Introduction
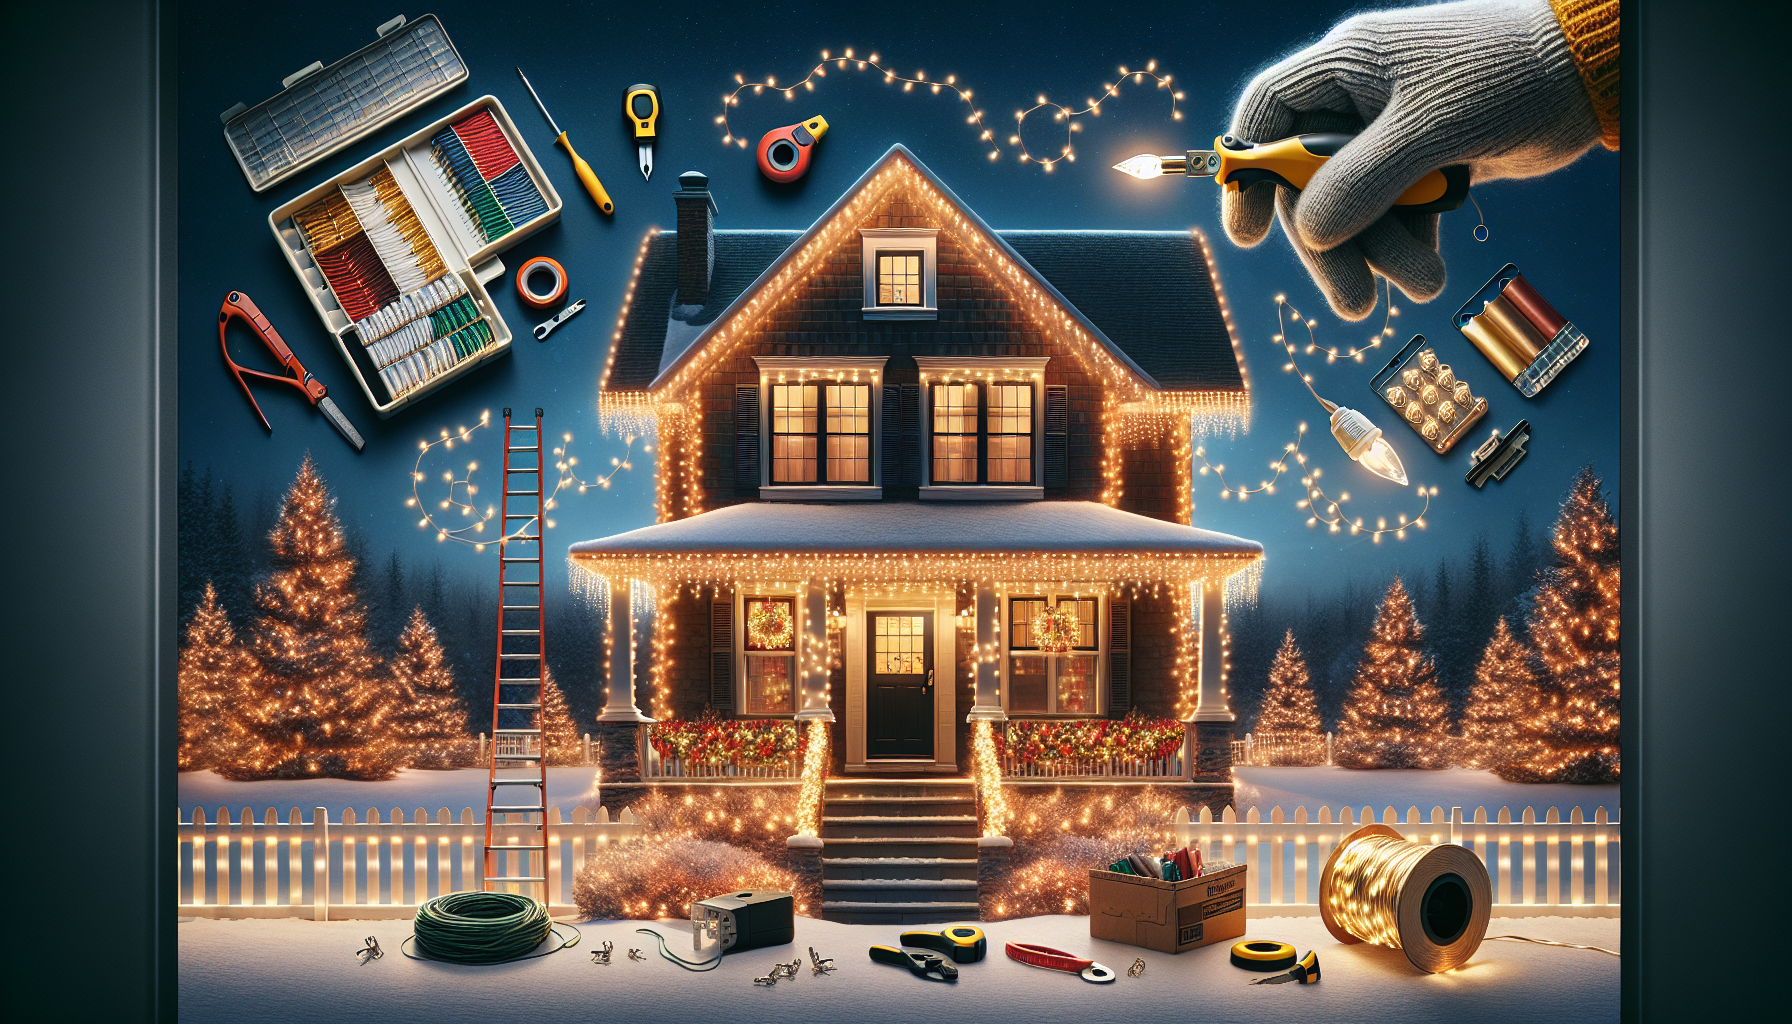
Are you looking to decorate your home with beautiful holiday lights this season? Look no further! In this blog, we will provide you with expert tips from a professional Christmas light installer on how to hang holiday lights on your home. Whether you are a residential or commercial property owner, these tips will help you create a stunning display.
Measuring and Cutting the Wire
The first step in hanging holiday lights is to measure and cut the wire to the appropriate length. Start by using a tape measure to determine how many feet of lights you will need. Once you have this measurement, cut the wire from a spool to match the length of your house. It is recommended to use SPT-1 wire, as it is easier to work with and less likely to pull the lights off the roof.
Using Vampire Plugs
After cutting the wire, it’s time to attach the plugs. The professional recommends using male and female vampire plugs for a secure connection. Clip the plugs together and keep them in your pocket for easy access. Split the wire apart and trim a quarter inch off the end to prevent water damage. Insert the male plug into one end of the wire, ensuring it pierces the coating and touches the wires underneath. Secure the plug by bending it over and smashing it with a lid. Repeat this process for the female plug on the other end of the wire.
Attaching the Lights
Now that the wire is ready, it’s time to attach the lights. The professional suggests using tough clips or flex clips for a quick installation. These clips can be slid over the bulbs or attached to the factory clip. It is recommended to test the lights as you go along by turning on the power. Screw each bulb all the way down to ensure a secure connection. The professional advises against working on ladders and recommends completing the installation while on the ground for safety and efficiency.
Using Tough Clips
If you already have lights and want to use tough clips, simply slide the clip onto the bulb and spin it to secure it in place. This method eliminates the need to remove the bulbs and makes the installation process much faster. The flex clip is a great alternative to the factory clip, providing a more durable solution for attaching lights to the gutter. With the flex clip, you can easily switch sides without any hassle.
FAQ
Q: Can I use SPT-2 wire instead of SPT-1?
A: While SPT-2 wire is an option, it is recommended to stick with SPT-1 wire, especially in cold weather. SPT-2 wire can be difficult to work with and may cause the lights to fall off the roof due to its heavy weight.
Q: How do I ensure a waterproof connection?
A: To ensure a waterproof connection, trim a quarter inch off the wire ends before attaching the plugs. This slight height difference will prevent water from entering the connection and causing electrical issues.
Q: Can I use other types of clips?
A: While tough clips and flex clips are highly recommended for their ease of use and durability, you can explore other options based on your personal preference. Just make sure the clips securely hold the lights in place.
Q: How long should each section of wire be?
A: It is recommended to cut the wire into smaller sections, around 50 feet, for easier handling, especially when working on a roof or ladders. This allows for better maneuverability and reduces the risk of tangling.
Conclusion
By following the expert tips provided in this blog, you can confidently hang holiday lights on your home like a pro. Remember to measure and cut the wire to size, use vampire plugs for a secure connection, and choose the right clips for easy installation. With a little practice and the right tools, you can create a stunning holiday light display that will impress everyone who sees it. So, get ready to transform your home into a festive wonderland this season!